Launch Your API on AWS Free Tier — A Step-By-Step Guide
By Patrick Petrovic
- 6 minutes readRecently, I was trying to deploy a backend API for my favorite party game Ryggio on Amazon Web Services (AWS). To my surprise, a comprehensive1 deployment guide was missing—which motivated this attempt to create one.
This guide attempts to include everything for your API to be production-ready, including:
- Basic configuration of Amazon Elastic Beanstalk
- How to use a custom domain
- Securing your API using TLS encryption (HTTPS)
The best of all this: Apart from the domain, you can get all of this for free2 using AWS Free Tier.
The Setup
We will be using the following tools to deploy our app:
- Docker, for packaging our application;
- AWS Elastic Beanstalk with a single instance deployment on Amazon Linux 2;
- Let’s Encrypt for generating a certificate;
- Namecheap for configuring our custom domain (of course, any provider will do).
Step 0: Dockerize Your Project
To follow this guide, it’s easiest if your project comes with a Dockerfile. This is unfortunately out of scope for this guide. If you just want to follow the tutorial for fun, please check out my example project! The repository contains all the files you need to get started.
Step 1: Set Up AWS Elastic Beanstalk
Getting our app up and running is not terribly complicated, but it does involve quite a few sub-steps. Here’s what you will need to do:
- Create a zip file which contains your entire project. Make sure the
Dockerfileis in the top-level directory (i.e., don’t zip the project folder, but the files inside it). - Go to Elastic Beanstalk and click on Create Application.
- Enter an application name.
- Select Docker as your platform.
- For platform branch, make sure to choose Docker running on 64bit Amazon Linux 2. Note that if you choose Amazon Linux 1, some stuff in this guide may not work.
- Select Upload your code and upload your project zip file from Step 1.
- Click on Configure more options on the bottom of the page. Then, select Single instance (Free Tier eligible). This is an appropriate option for a very low-traffic application which doesn’t need a load balancer. (Don’t worry, you will be able to change this later.)
- That’s it! Click on Create app on the bottom of the page. Then wait a few minutes for everything to be set up—you’ll be redirected to your app’s status page automatically.
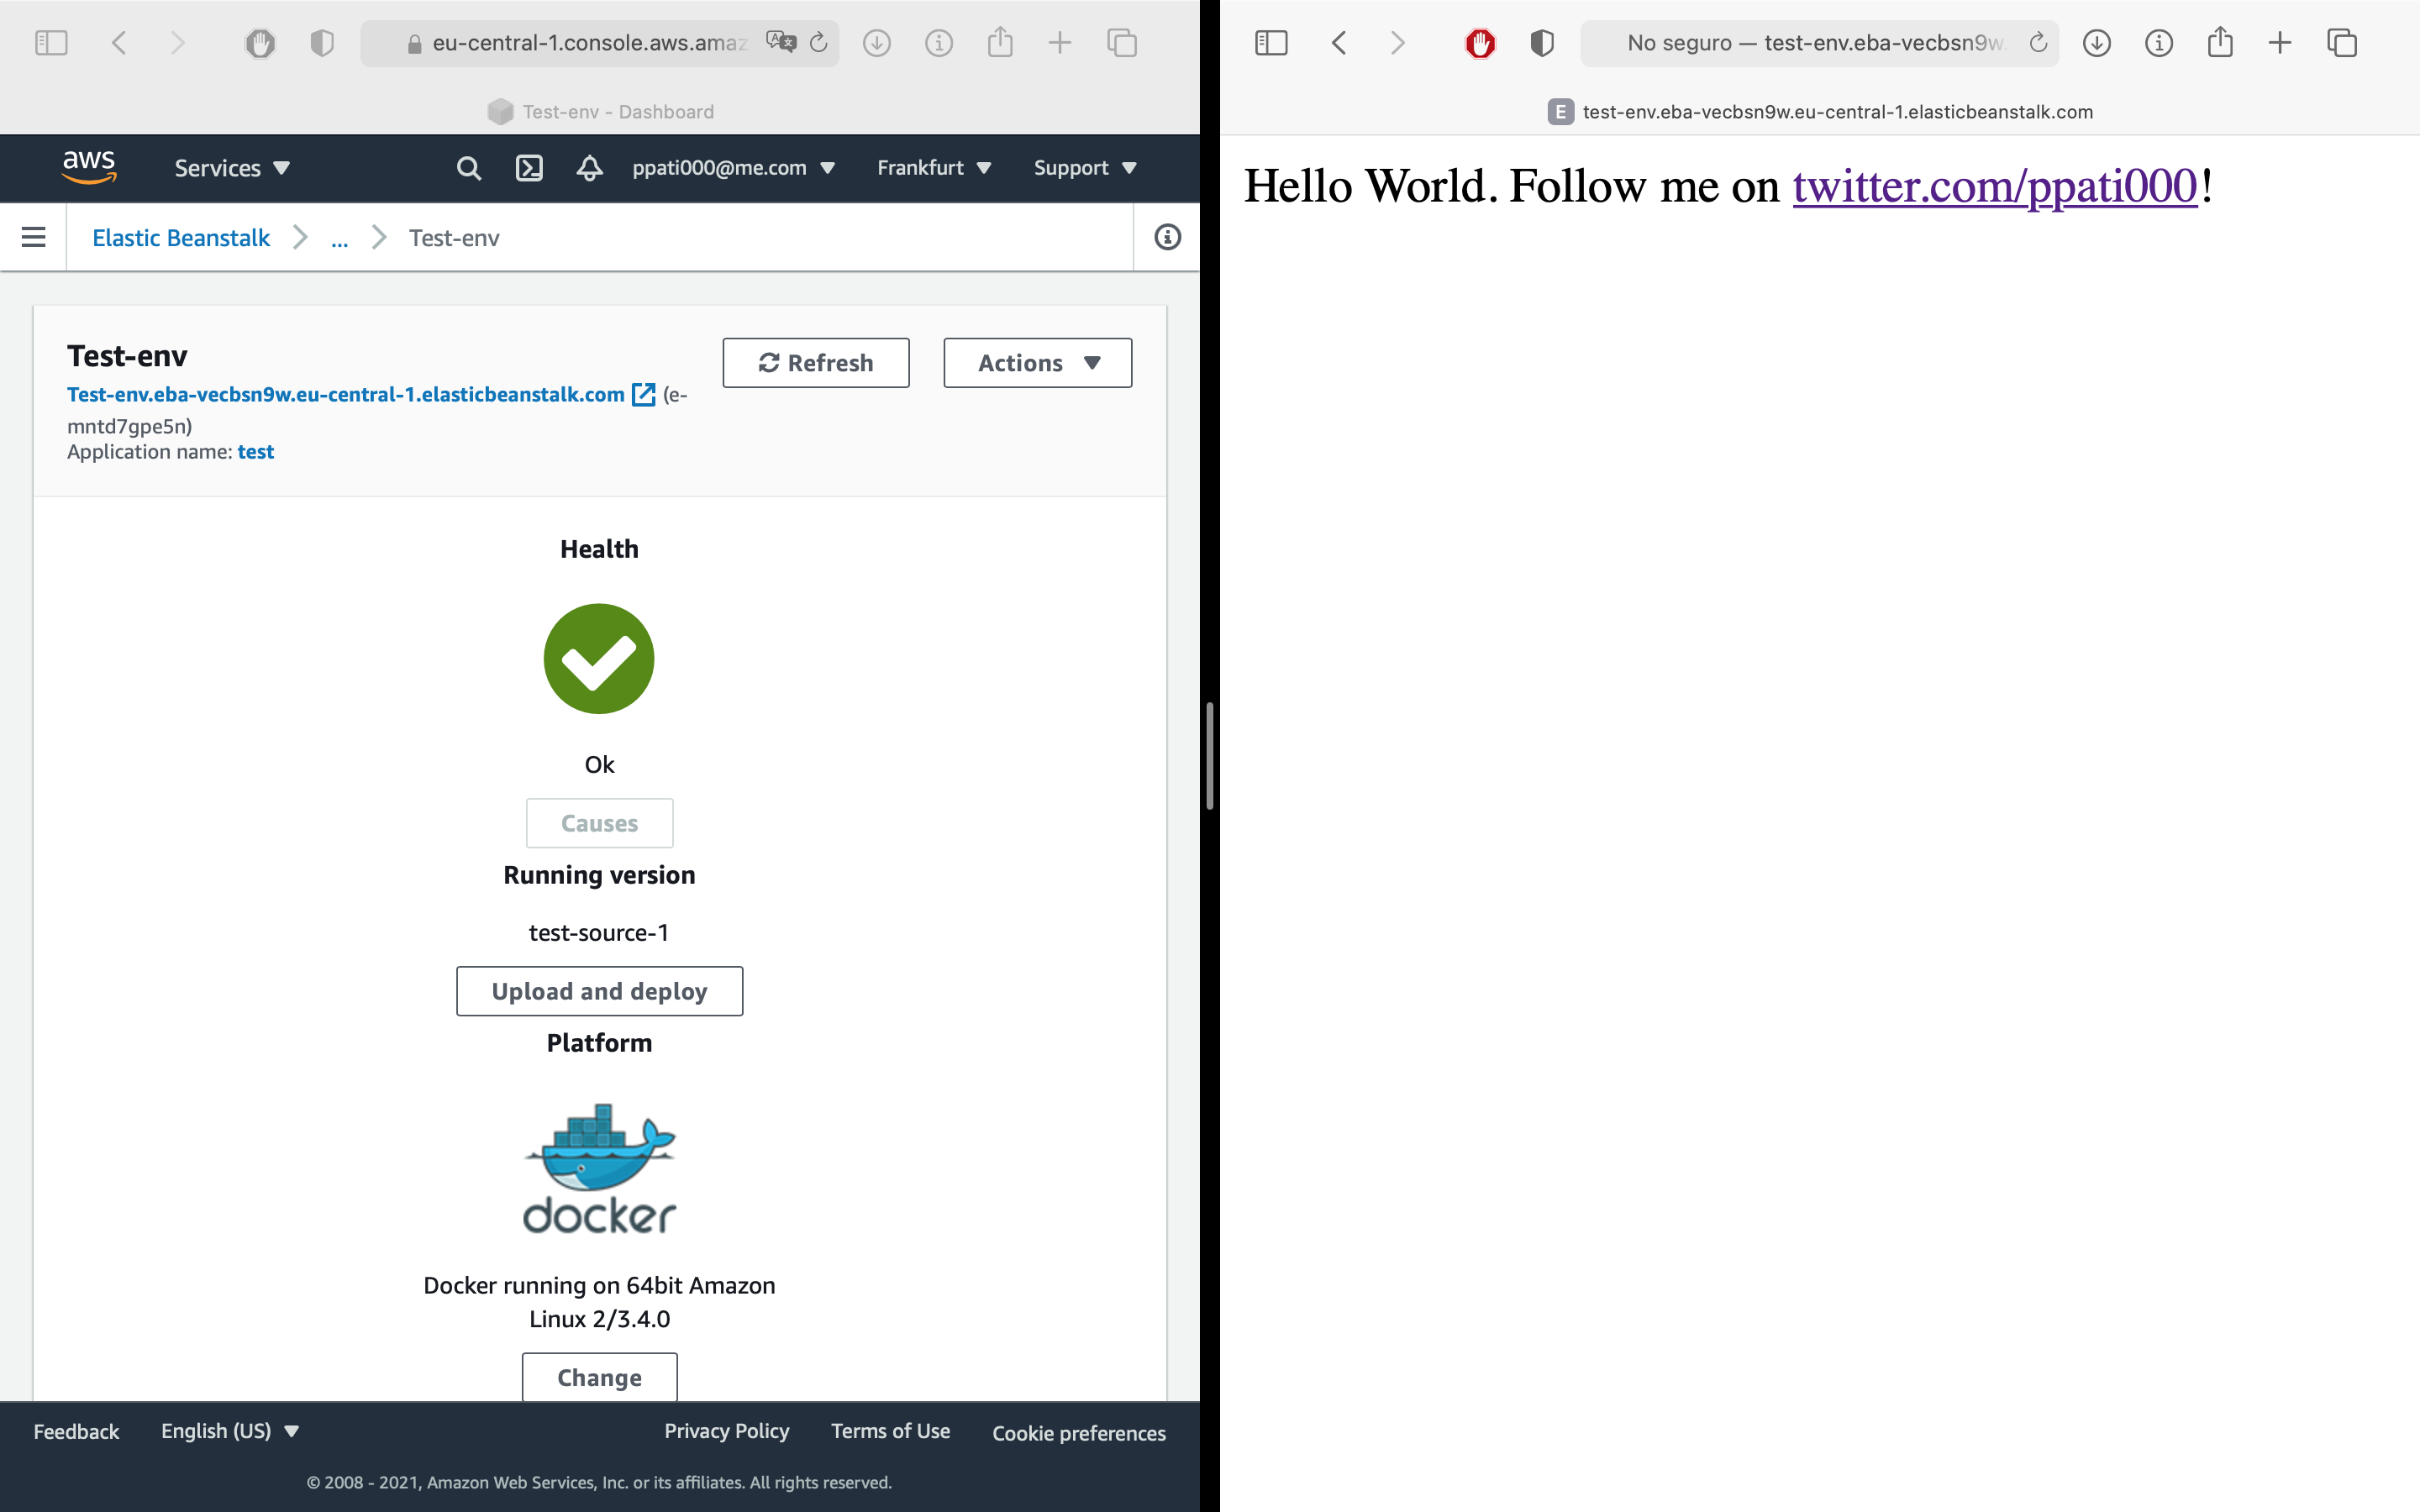
This is approximately what you’ll be seeing after completing the above list of actions:

Well, that was easy! So what’s missing now?
- Our app is still running on some cryptic URL like
http://test-env.eba-vecbsn9w.eu-central-1.elasticbeanstalk.com. We’ll want to use our own domain instead. - We will need to set up HTTPS / TLS encryption so that people can access our API securely. Nowadays, this is a must for any production-ready application.
Follow the remaining steps to fix those two issues.
Step 2: Set Up a Custom Domain
In order to use a custom domain for your API, you’ll need to navigate to your domain provider’s admin page. This guide uses Namecheap, but any other provider will have a similar interface.
In Namecheap, select the domain name you would like to use and navigate to Advanced DNS. Add a new record with the following properties:
- Type:
CNAME - Host:
@if you want to use the top level domain, or the name of your subdomain, e.g.apiif you want to useapi.your-domain.org. For this example we’ll useaws-eb-tutorial, so our server will be available ataws-eb-tutorial.patrick.engineering. - Target: Enter your app’s Elastic Beanstalk domain, e.g.
test-env.eba-vecbsn9w.eu-central-1.elasticbeanstalk.com.
Here’s what it will look like when saved:

Nice! After a few minutes3, the example app is reachable at http://aws-eb-tutorial.patrick.engineering!
Step 3: Configure TLS Encryption
Congratulations! Your API is up and running on your custom domain. Now to the final part: Configuring TLS encryption.
This is a bit more complex. It’s hard to cover all of it, so please follow this excellent guide on how to create a TLS certificate using Certbot. If you follow the guide, you will obtain three files: chain.pem, server.key and server.crt.
When the certificate files have been created, you’ll need to configure your project to make use of them.
First, add the following HTTPS configuration content to .platform/nginx/conf.d/https.conf in your project directory. This will configure the environment’s nginx proxy to work with HTTPS connections.
# .platform/nginx/conf.d/https.conf
server {
    listen 443;
    server_name localhost;

    ssl on;
    ssl_certificate /etc/pki/tls/certs/server.crt;
    ssl_certificate_key /etc/pki/tls/certs/server.key;

    ssl_session_timeout 5m;

    ssl_protocols TLSv1 TLSv1.1 TLSv1.2;
    ssl_prefer_server_ciphers on;

    location / {
        proxy_pass http://docker; # Forward requests to our container.
        proxy_http_version 1.1;

        proxy_set_header Connection "";
        proxy_set_header Host $host;
        proxy_set_header X-Real-IP $remote_addr;
        proxy_set_header X-Forwarded-For $proxy_add_x_forwarded_for;
        proxy_set_header X-Forwarded-Proto https;
    }
}
Notice how the above configuration points to the server’s TLS certificate and private key in /etc/pki/tls/certs/.
Next, we will instruct Elastic Beanstalk to provide the files in this directory. To do this, create a .ebextensions/.config file with the content given below. Of course, you will need to add the contents of your actual certificate files.
Note: The certificate data must be kept private. Do not commit this file to your regular version control system4.
# .ebextensions/.config
# Partly taken from https://medium.com/@hzburki/configure-ssl-certificate-elastic-beanstalk-single-instance-a2846211851b.

# Install the required mod_ssl dependency.
packages:
  yum:
    mod_ssl : []

# Provide the TLS files in /etc/pki/tls/certs/.
files:
  /etc/pki/tls/certs/server.crt:
    mode: "000400"
    owner: root
    group: root
    content: |
      -----BEGIN CERTIFICATE-----
      ...
      -----END CERTIFICATE-----

  /etc/pki/tls/certs/server.key:
    mode: "000400"
    owner: root
    group: root
    content: |
      -----BEGIN PRIVATE KEY-----
      ...
      -----END PRIVATE KEY-----

  /etc/pki/tls/certs/chain.pem:
    mode: "000400"
    owner: root
    group: root
    content: |
      -----BEGIN CERTIFICATE-----
      ...
      -----END CERTIFICATE-----
      -----BEGIN CERTIFICATE-----
      ...
      -----END CERTIFICATE-----

# Allow traffic to reach the instance via port 443.
# See https://aws.amazon.com/es/premiumsupport/knowledge-center/elastic-beanstalk-https-configuration/.
Resources:
  sslSecurityGroupIngress:
    Type: AWS::EC2::SecurityGroupIngress
    Properties:
      GroupId: {"Fn::GetAtt" : ["AWSEBSecurityGroup", "GroupId"]}
      IpProtocol: tcp
      ToPort: 443
      FromPort: 443
      CidrIp: 0.0.0.0/0
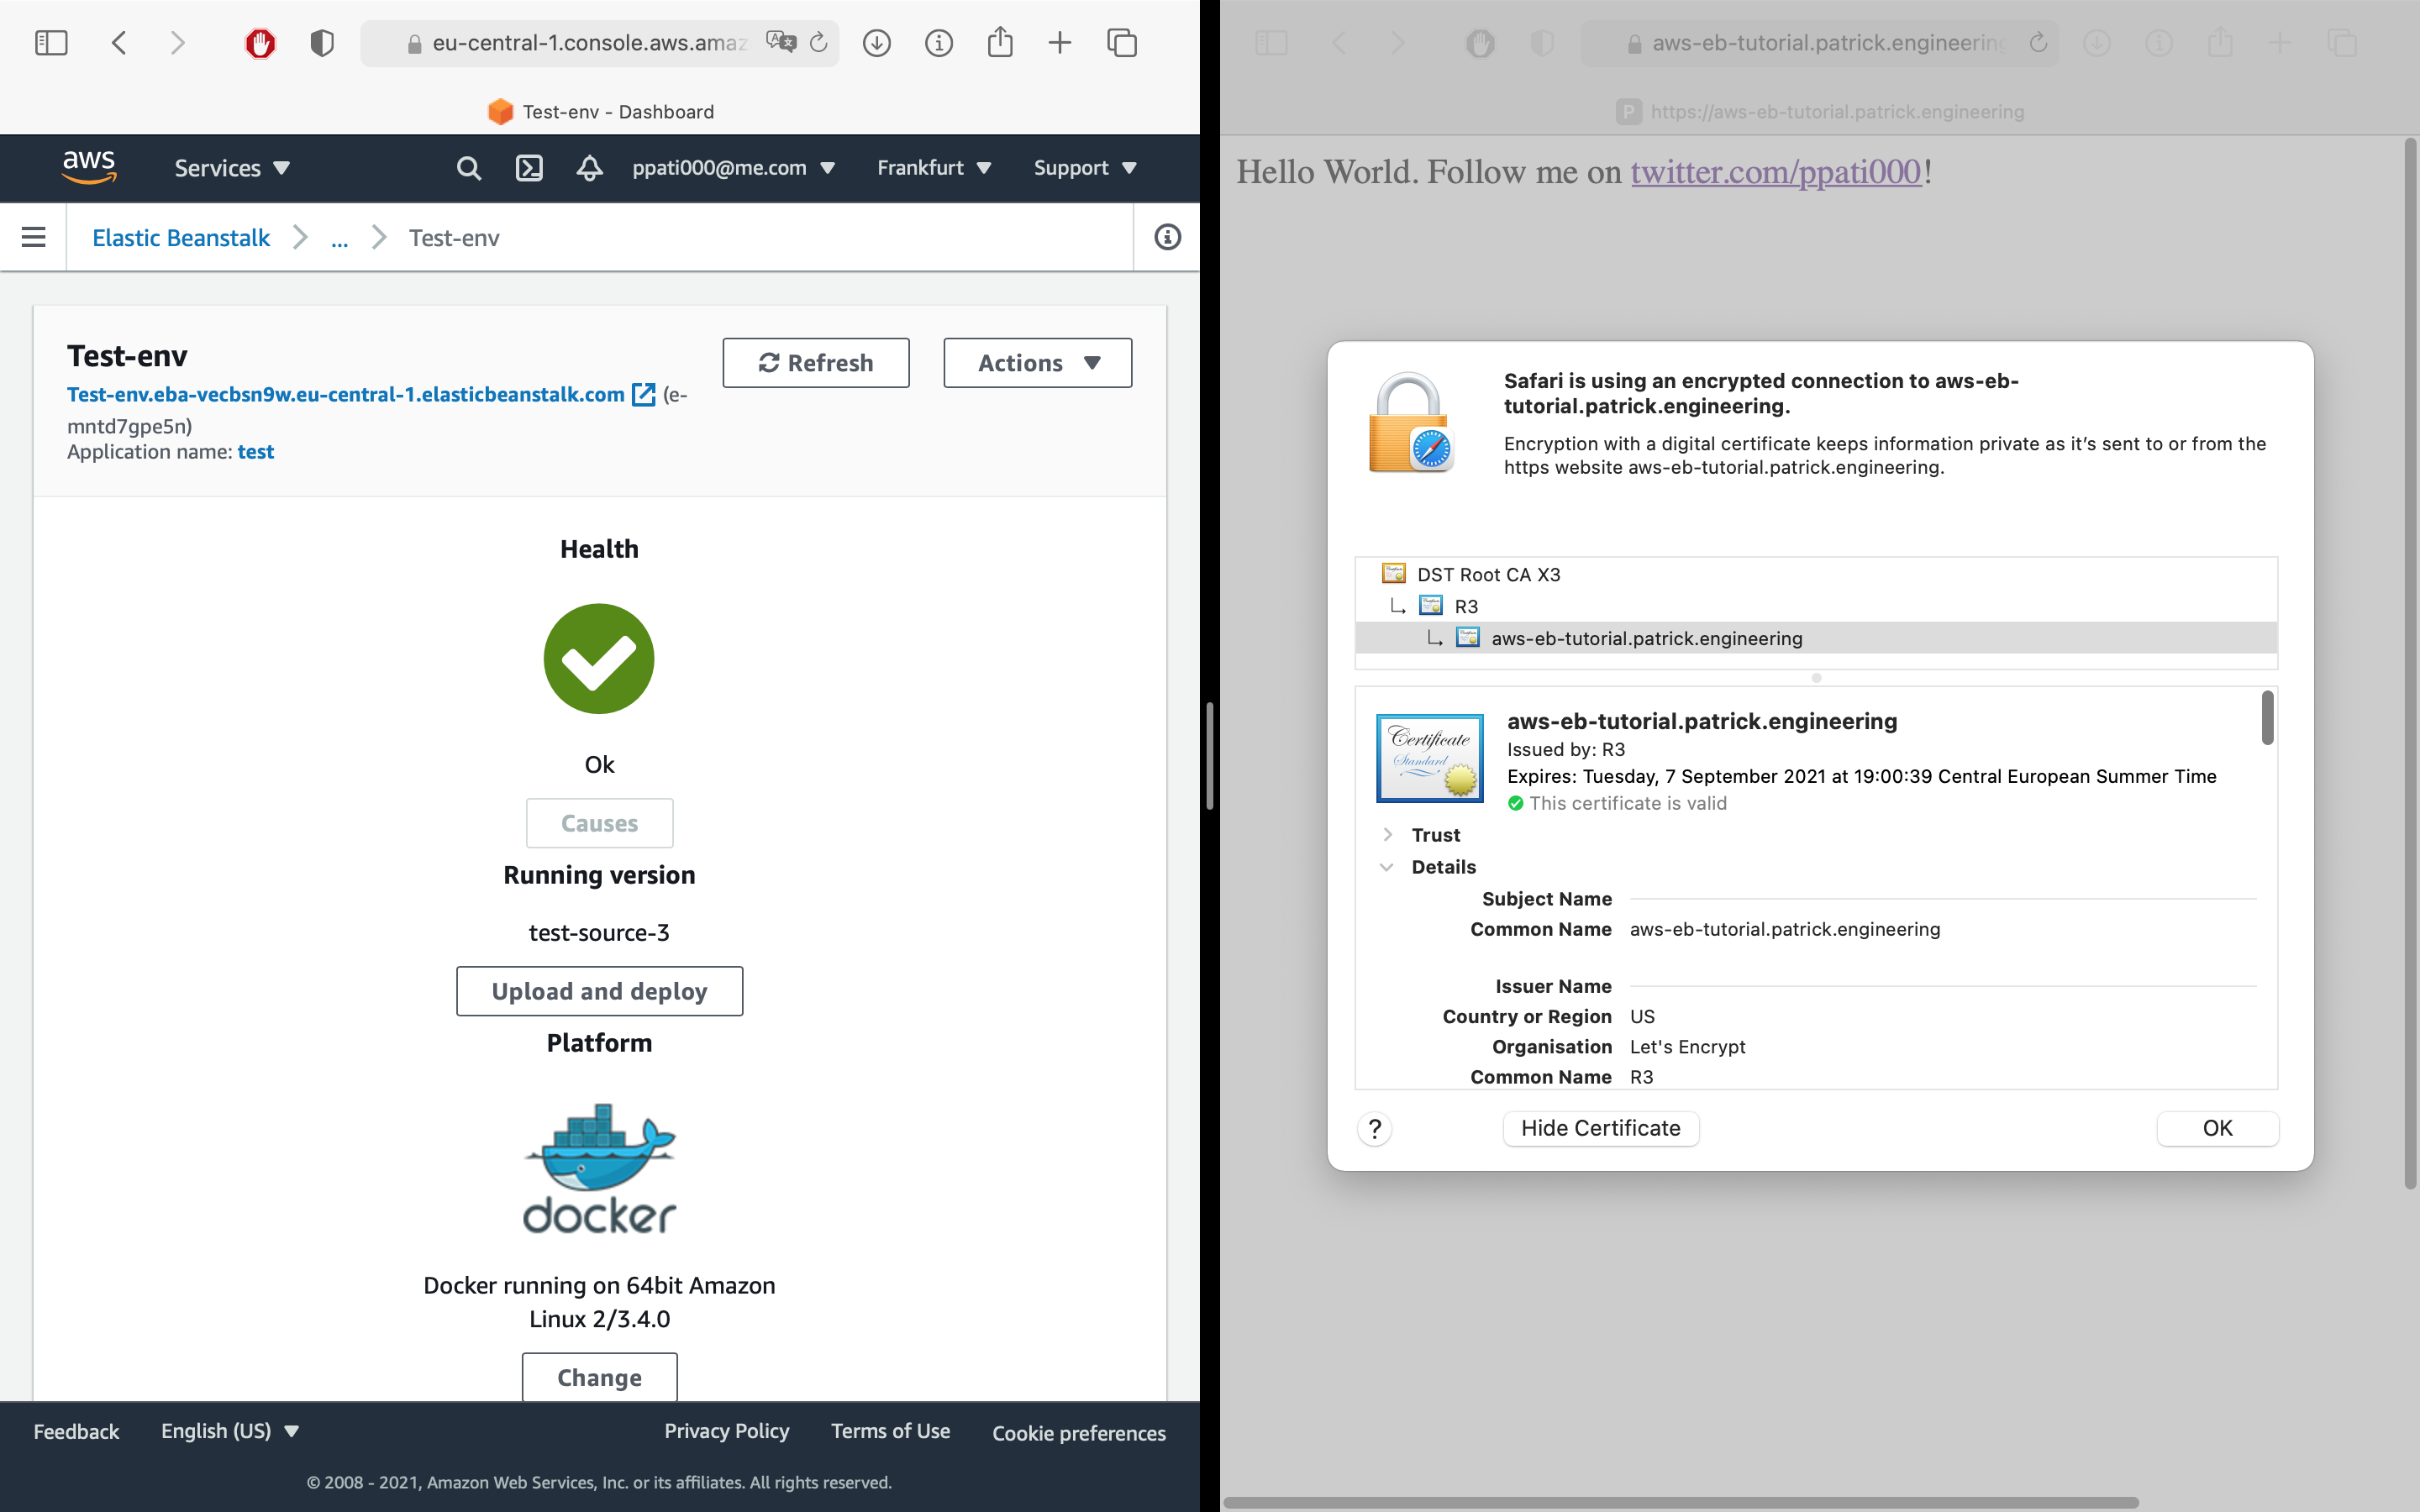
Finally, create a new zip archive of your project, including the newly created files! You can upload and deploy the new archive by navigating to Application Versions in Elastic Beanstalk. If you’ve followed this tutorial until here, this is the end result:

Conclusion
A production-ready API or application involves much more work than just getting it online. Especially TLS encryption is still somewhat difficult to set up if you’re not used to infrastructure-related work. I hope this guide saved you some time—and hopefully very soon, you’ll have your first API user! If you liked this tutorial, please feel free to follow me on Twitter or LinkedIn. Enjoy!
-
A good, yet not entirely complete guide which this post is partly based on is available here. ↩︎
-
No guarantee here as this may depend on region and time—always make sure to check Amazon’s pricing!s ↩︎
-
Well, that depends. If the app isn’t reachable yet even though it runs fine using your Elastic Beanstalk URL, grind yourself some coffee and check back later. ↩︎
-
In the aforementioned guide, certificates are uploaded to S3 instead of including them in the project directory. This is more secure because it stops you from accidentally publishing your server’s private keys on GitHub. However, access control between Elastic Beanstalk and S3 is hard to do right, which is why this approach is not covered here. ↩︎